Hello,
Today we will create a spring boot CRUD application. In, this example, we are using the MySQL database to store data, to view and manage the data we will use react Js library in the frontend part. For API testing we will use Postman.
In this article, We will create a react application, Install some packages like react-bootstrap and react-router-dom. Actually, in this example, we will set up the react application.
Before initializing the react application, ensure you have installed the node.exe application on your local machine.
Go to a folder, then open the CMD and type:
npx create-react-app employeecrud“employeecrud” is the react application name. It will take some time based on your internet connections.
Then type “cd employeecrud”, It will navigate to the project folder. I will open this project in the VS code by typing the “code .” command through CMD.

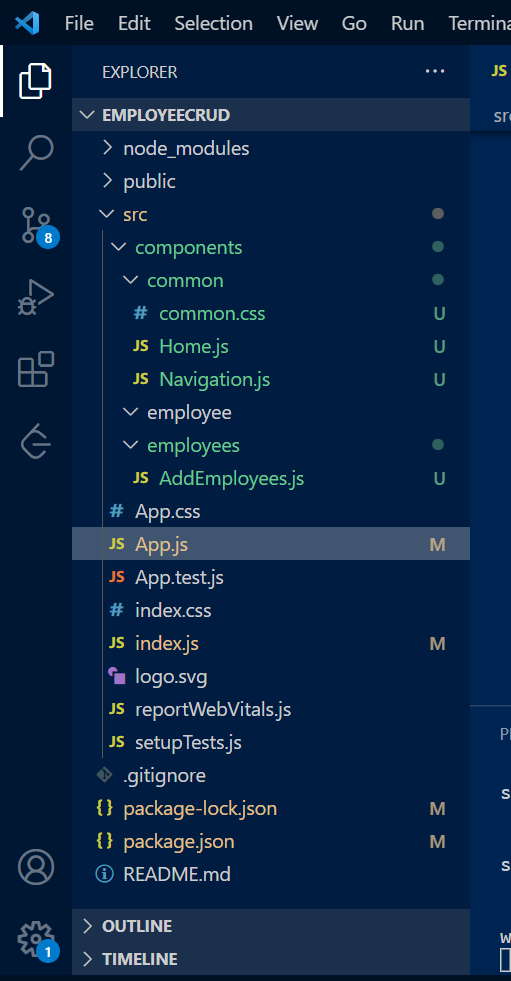
This is the project structure by default created.

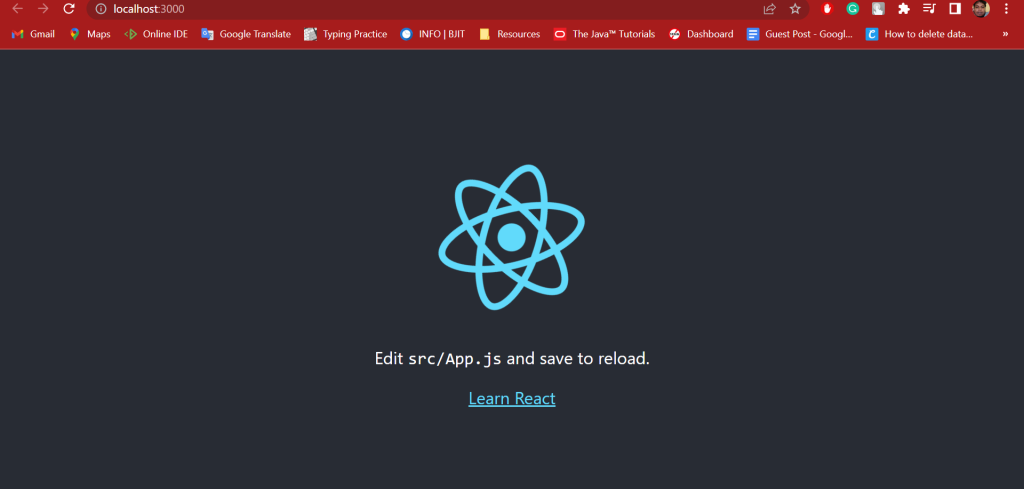
Now open a new terminal and type the “npm start” command. It will run the project and you can see the output in the browser like this:

Now, it’s time to modify the default structure.
To design the UI we will use the react-bootstrap library. To install the react-bootstrap UI library run the following command:
npm install react-bootstrap bootstrapafter installing add the following line as an import in the App.js file.
import 'bootstrap/dist/css/bootstrap.min.css';Now, Install the react-router-dom by running the following command:
npm install react-router-dom@6Go to the index.js file, and add the BrowserRouter component this way:
import React from 'react';
import ReactDOM from 'react-dom/client';
import './index.css';
import App from './App';
import { BrowserRouter } from "react-router-dom";

import reportWebVitals from './reportWebVitals';

const root = ReactDOM.createRoot(document.getElementById('root'));
root.render(
  <React.StrictMode>
    <BrowserRouter>
      <App />
    </BrowserRouter>
  </React.StrictMode>
);

// If you want to start measuring performance in your app, pass a function
// to log results (for example: reportWebVitals(console.log))
// or send to an analytics endpoint. Learn more: https://bit.ly/CRA-vitals
reportWebVitals();
Now, create a folder named components in the src folder. In the components, folder creates more employees, employees, and commons folders based on your future needs.
src => components => employees =>
create an AddEmployee.js file. and add this below code:
import React from 'react'
import { Button } from 'react-bootstrap'

const AddEmployees = () => {
    return (
        <>

            <h1>
                Add New Employee
            </h1>

        </>
    )
}

export default AddEmployees
Go to src => components => common =>
Create a Home.js file and add this below code:
import React from 'react'
import Navigation from './Navigation'

const Home = () => {
    return (
        <>
            <h1>Welcome to Spring Boot CRUD Application with MySQL and React JS!</h1>
        </>
    )
}

export default Home
Go to src => components => common =>
create a Navigation.js file and add this below code:
import React from 'react'
import { Container, Nav, Navbar, NavDropdown } from 'react-bootstrap'
import { Link } from 'react-router-dom'
import './common.css'
const Navigation = () => {
    return (
        <Navbar bg="light" expand="lg">
            <Container>
                <Navbar.Brand href="/">Spring Boot- React JS</Navbar.Brand>
                <Navbar.Toggle aria-controls="basic-navbar-nav" />
                <Navbar.Collapse id="basic-navbar-nav">
                    <Nav className="me-auto">
                        <Link to="/">Home</Link>
                        <Link to="/add-employee">Add Employee</Link>
                    </Nav>
                </Navbar.Collapse>
            </Container>
        </Navbar>
    )
}

export default Navigation
Go to src => components => common =>
create a common.css file and add this below code:
a {
    margin: 10px;
}
Final steps, go to the App.js file and remove the unnecessary codes and add the following codes
import React from 'react';
import 'bootstrap/dist/css/bootstrap.min.css';

import { BrowserRouter as Router, Route, Routes, Link } from "react-router-dom";
import AddEmployees from './components/employees/AddEmployees';
import Home from './components/common/Home';
import Navigation from './components/common/Navigation';


function App() {
  return (
    <>
      <Navigation />
      <Routes>
        <Route path="/" element={<Home />} />
        <Route path="/add-employee" element={<AddEmployees />} />
      </Routes>
    </>
  );
}

export default App;
We have created now only two routes for simplicity, in the future, may increase the routes based on your needs.
The final folder structure looks like this:

All prerequisites are done, now it’s time to run the application.
Run the application by “npm start” command.
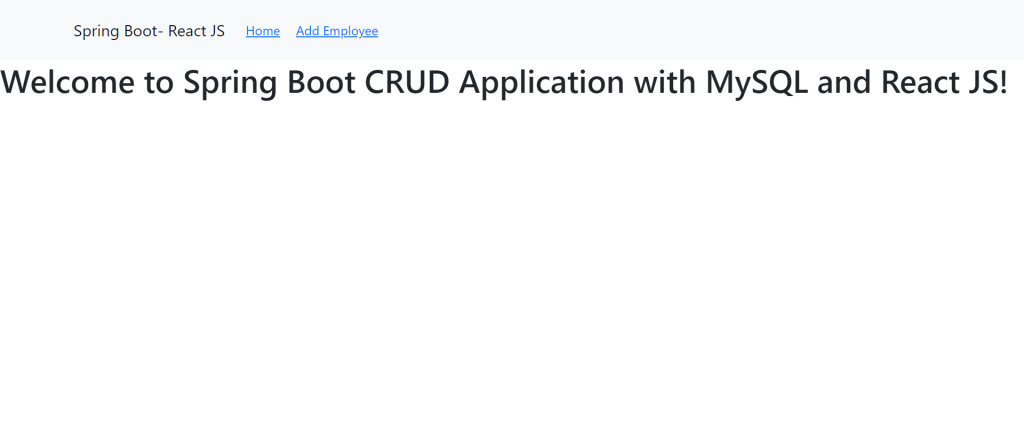
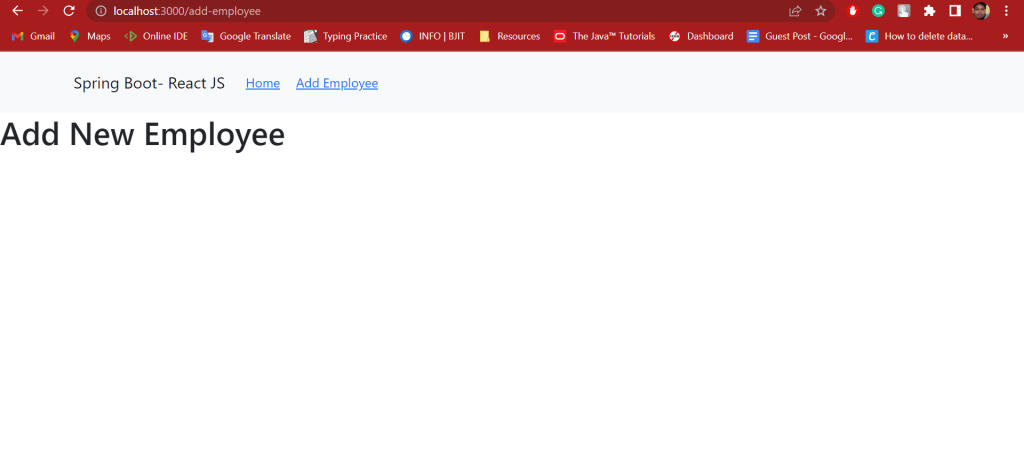
The output looks like this:


Thank you, in the next part we will continue…


